Custom Registers
Custom registers in Kids Club HQ allow you to create a single register made up of multiple different clubs.
This is useful in cases where you have multiple clubs running in a single or more settings and want to have a single register to sign children in and out.
For example, if you collect children for an After School Club from different schools, you may have a different number of spaces available for those different schools. This is commonly dealt with by creating separate clubs. In this case, it’s likely that you would like to view all of the children on one register. That can be achieved with custom registers.
Accessing Custom Registers
To access the custom registers for your organisation, log in to Kids Club HQ then click on Registers in the left menu.
The registers view has 2 tabs, click on the Custom Registers tab.

Custom registers work the same way as other registers in the system, you can:
- View the register online
- Export to Excel
- Use the tablet mode where parents can sign in or out on a tablet

The main difference is that the dates shown for the custom register aren’t grouped by date range and instead you use a date picker to select the dates to view:

Creating a Custom Register
To get started with a custom register, you need to create one. Start by clicking on the Add Custom Register button.

Specify a name for the custom register and add the clubs to include by clicking the Add a Club button:

Add the clubs that you wish to include in the register:

Click the Add Club(s) button to add them to the register.
Once you have added all the clubs you need, click Add Custom Register button to create the register.
When you first add the register, the information for each day will be gathered in the background. This may take a minute or two and after this, the register will be available.
Editing a Custom Register
To edit a custom register, first select the register in the dropdown. You will see a button labelled Actions... appear to the right of the dropdown:

Click the Actions... button then click Edit Custom Register... and you will see a view which allows you to make changes to the custom register:
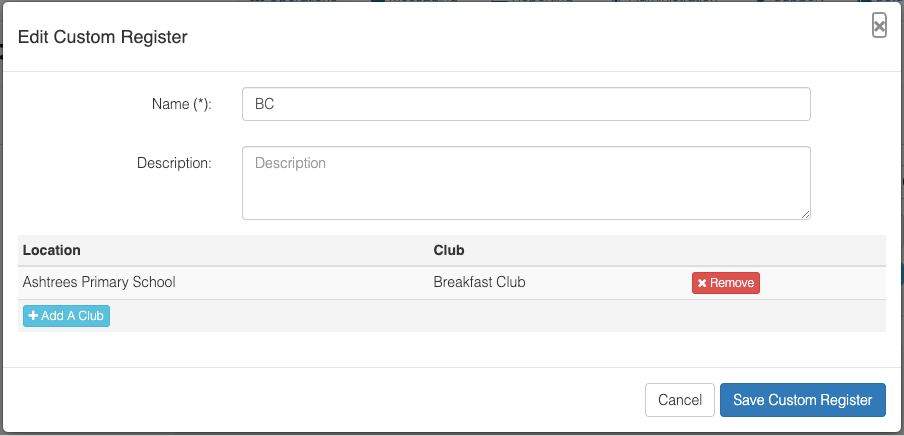
Click Save Custom Register when you have made the required changes.
Deleting a Custom Register
To delete a custom register, first select the register in the dropdown. You will see a button labelled Actions... appear to the right of the dropdown:

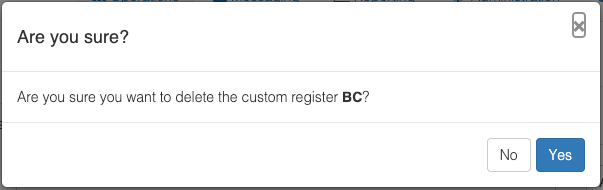
Click the Actions... button then click Delete Custom Register... You will see a prompt to confirm that you want to delete the custom register. If you select Yes, the register will be deleted: