How to send emails to multiple customers at once
If you need to send an email to all or a sub-set of your customers, you can do this from the Customers view in Kids Club HQ.
A word of caution...
Before we get into how to do this, there are some words of caution that we need to express. It's quite easy to get your emails treated as spam by the email service providers (e.g. Gmail, Hotmail, Yahoo, etc...). There are many reasons that this may happen, some of which include:
- You're sending emails with content that looks spammy to the email service provider (e.g. unsolicited marketing emails, poorly written content, a subject line that doesn't match the content of the email, etc...)
- The recipients of the emails mark them as junk or spam
- The recipients of the emails don't open or read them
If your emails become considered as spam or junk, this is linked to your sending email address and could prevent valid emails getting through to your customers (i.e. booking emails, payment reminders, etc...).
This spam status could also be linked to the Kids Club HQ email server and that would affect all the other Kids Club HQ customers. If this were to happen then we would be forced to block your account from sending emails to prevent our other customers being affected.
The batch email feature in Kids Club HQ is intended to be used to send emails that your customers would be expecting to receive from you as a user of your club(s). This includes, for example:
- Communicating that a club is going to be unexpectedly closed for a day (e.g. a snow day)
- There may be a bout of sickness amongst children that attend a club which you wish to communicate to customers
- Availability of additional dates or sessions for a club that customers would want to book
The trick is to only send emails that your customers would expect to be receiving from you and you have a legitimate reason to send to them.
Sending emails
To do this, you'll need to sign into your dashboard and head to the Customers tab in the sidebar.
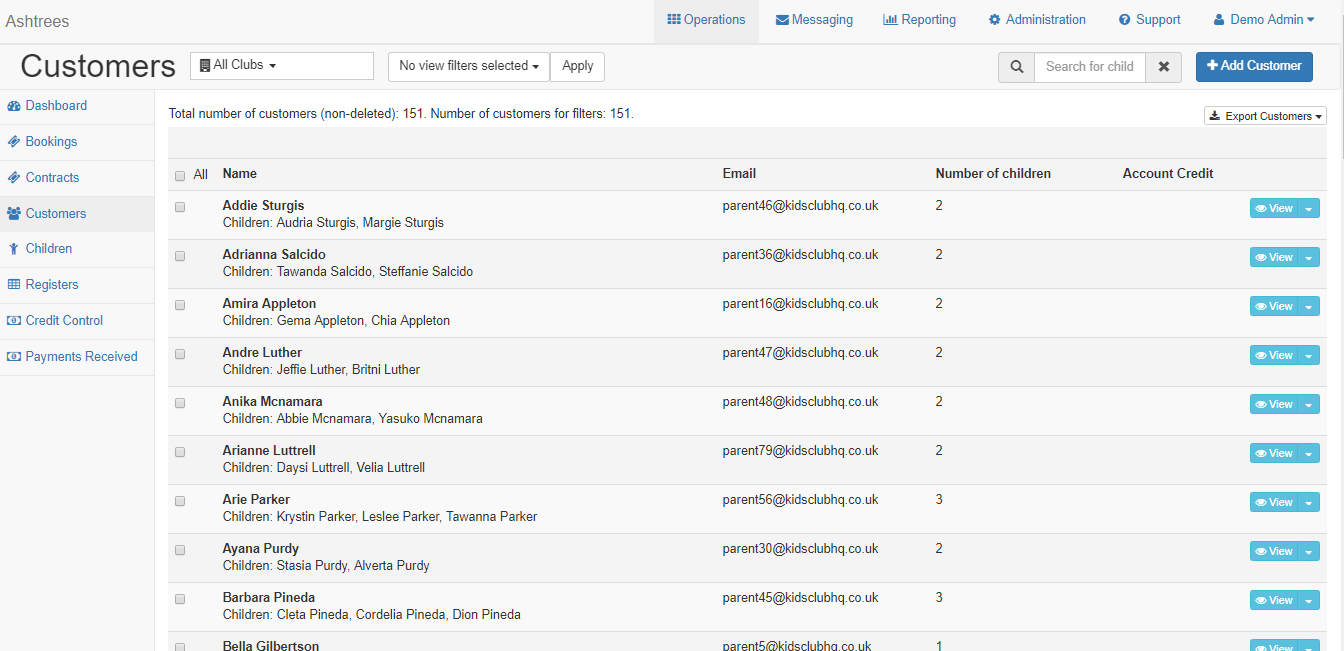
You can use the filters at the top of the page to narrow down the list of customers you'd like to view in this list. The clubs filter will allow you to select customers that have used particular clubs either at some time in the past or currently use the club.
There are checkboxes on the left hand side next to each customers name. Select the checkboxes for the customers you'd like to send emails to or tick the 'All' checkbox at the top of the column to select all customers that match the filters selected.
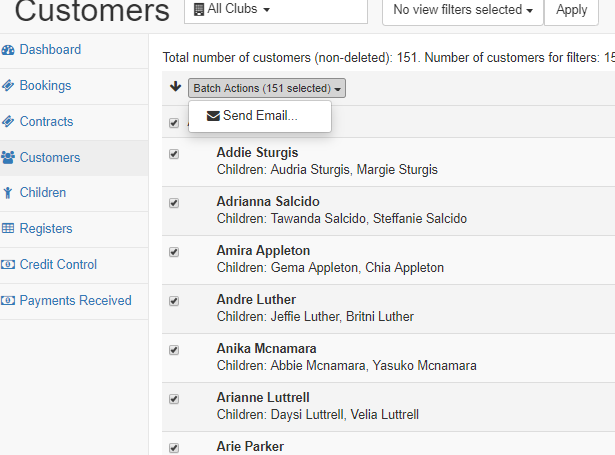
Once you've ticked this, you'll see a button appear labelled Batch Actions, click this and you'll then see the option to Send Email. Click this.
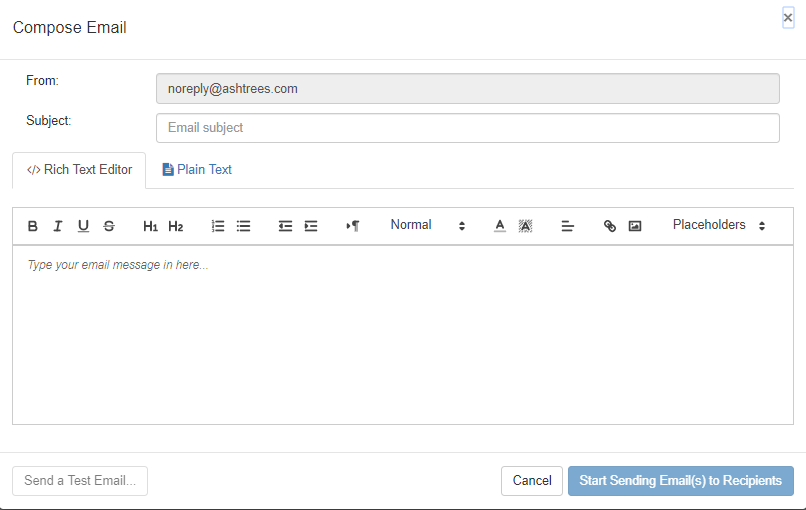
A view will then appear prompting you to compose the email you'd like to send. You'll need to enter the Subject for the email and you can then begin typing up the email in the text box.
You can use the Placeholders option to insert mail merge type fields into the email which will be replaced by the specific value when the email is sent (e.g. customer name).
Once you've typed up the email, it's worth sending a test email to make sure it looks okay on the receivers end. To do this, hit the Send a Test Email button.
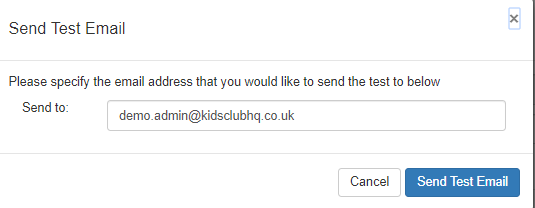
In here you can confirm the email address which the test email should be sent to and then hit Send Test Email. You'll then be taken back to the previous screen.
Check the email account that you sent the test email to and, if you're happy with the test email and you want to begin sending this email to the selected customers, click the Start Sending Email(s) to Recipients button. The system will then begin to send this batch of emails and you will be shown a confirmation message.
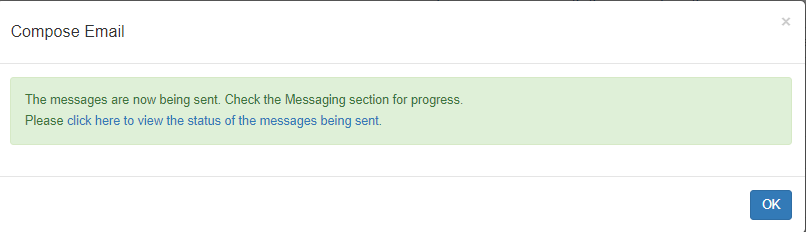
You can check on the status of the batch of emails in the Messaging area or by following the link in the confirmation message.
Monitoring the emails being sent
To check the status of the emails sent in a batch, you will need to head to the new Messaging tab in your dashboard.
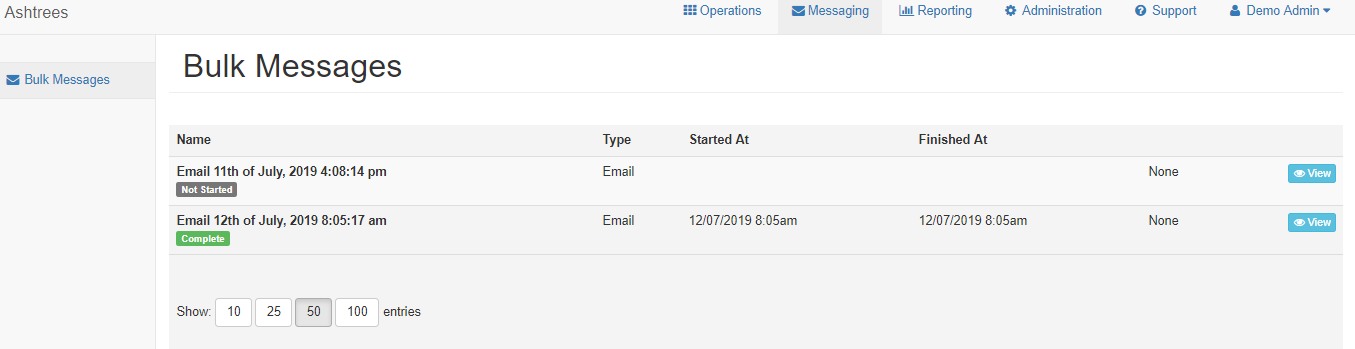
Hit View on the emails you'd like to see in more detail. On the next screen you'll be able to see the status of any emails that were sent within that batch.
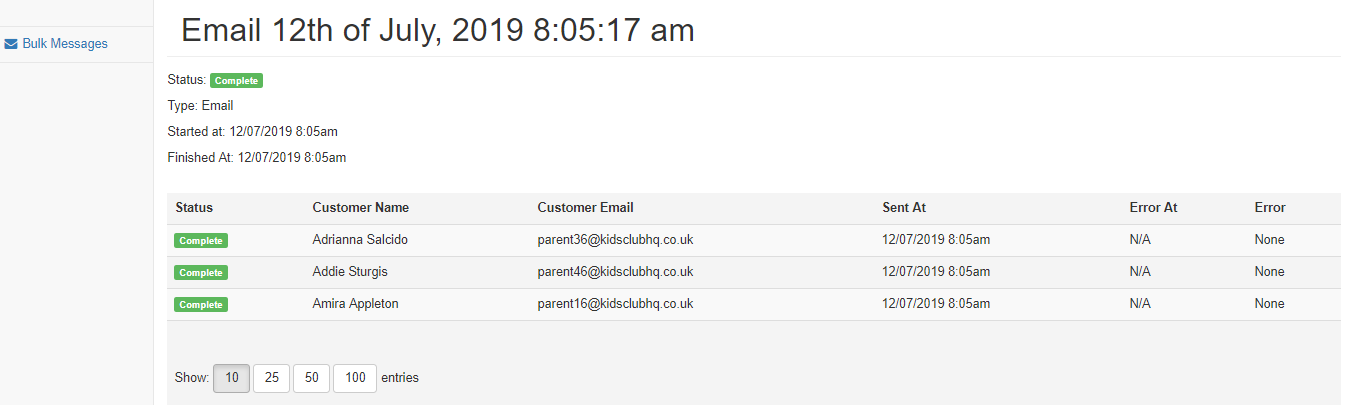
As you can see from the screenshot above, you'll be able to view the status of each email within the batch, the name/email of each customer and the time the email was sent. You'll also be able to view any errors for each email.